Face Enlargement
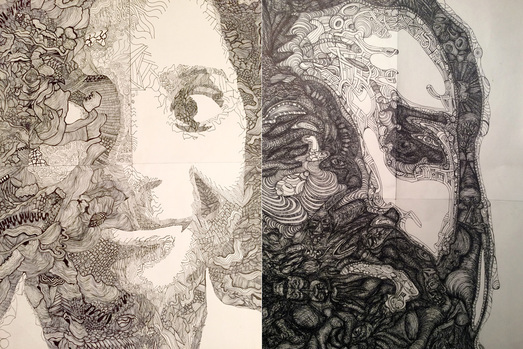
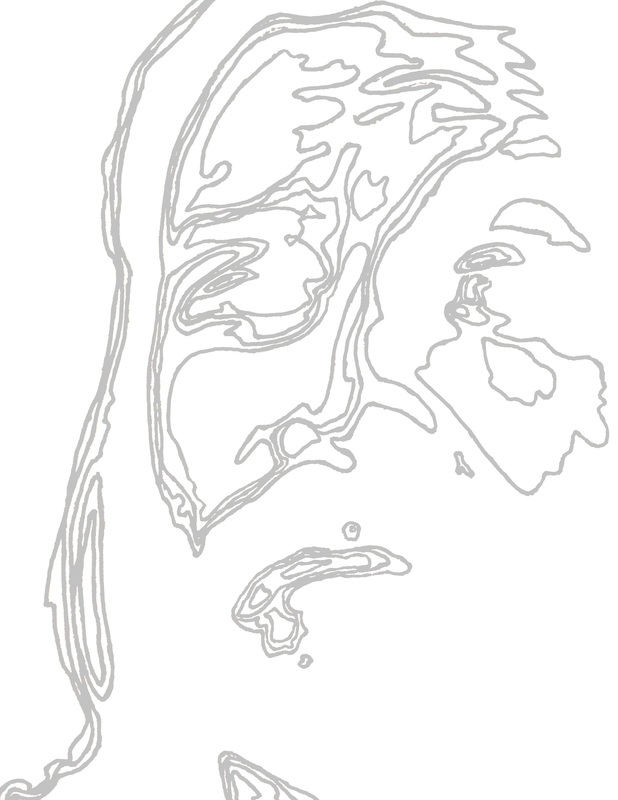
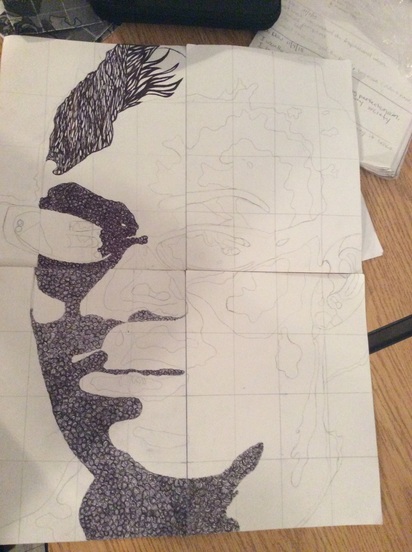
The Face Enlargement is a self portrait made up of zentangle inspired patterns that create the illusion of various values. This portrait takes approximately 6 weeks to create through multiple processes. To the left you will find my example as well as a student's. This project begins the same way as the color theory portrait, you begin with a high contrast (Rembrandt lighting) photo that is sent through a cutout filter. Next, you use a fine sharpie to go over the lines that separate the values.
|

|
|
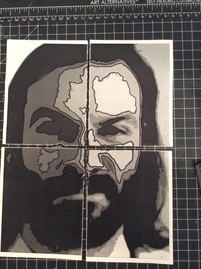
Once you have your lines divide the paper into four equal quadrants by folding it in half both vertically and horizontally and cutting along the folds. Each quarter will become its own 8.5 x 11 inch piece of paper. The next step is to fold the quarters as well as a piece of copy paper that will act as your grid template.
|
|
|
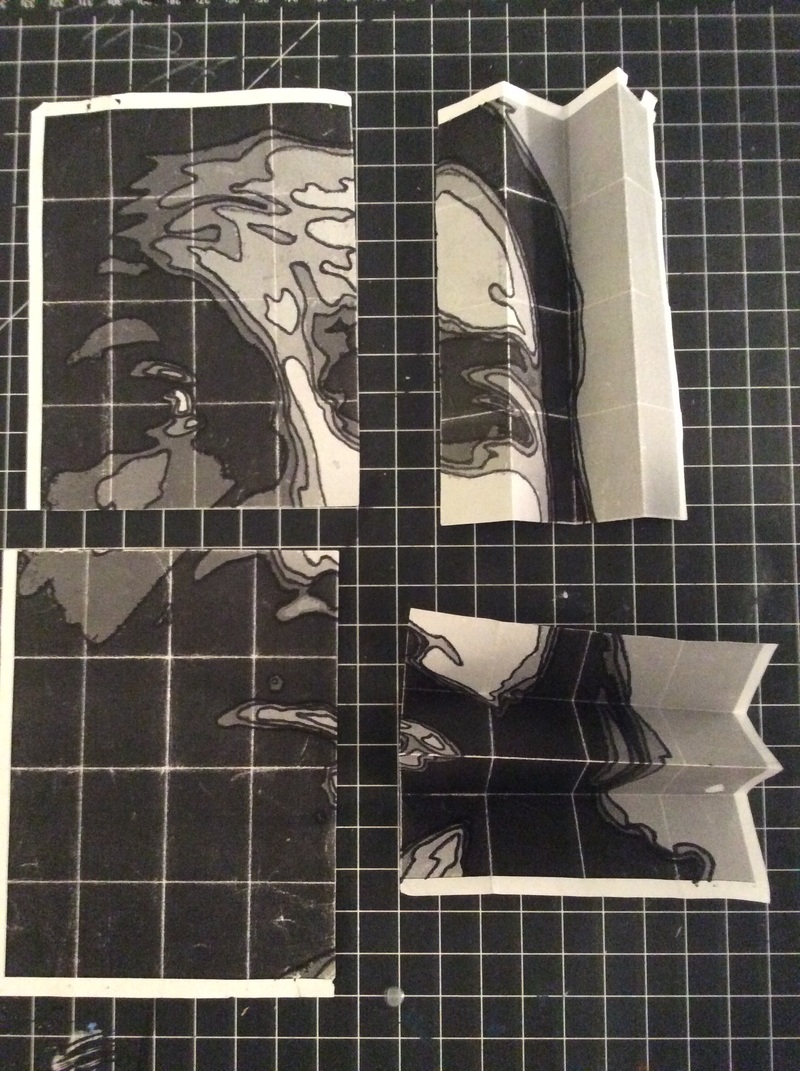
You are folding perpendicular and parallel only and are under no circumstances "double folding". Fold each quarter in half vertically and then making an "M" (or "W") fold the edges back to the center fold like the image to the left. Solidify folds by using a hard object like the top of your nail or the handle of your scissors and unfold. Fold horizontally the same way, in half and then edges to the center fold and solidify those folds as well. Unfold and you should end up with a 4 x 4 grid.
Once you get your 4 x 4 grid on the quarter pieces, take a piece of copy papered fold it so that you end up with a 4 x 4 grid. Fold the copy paper in half vertically and then making an "M" (or "W") fold the edges back to the center fold like the image to the left. Solidify folds by using a hard object like the top of your nail or the handle of your scissors and unfold. Fold horizontally the same way, in half and then edges to the center fold and solidify those folds as well. I have drown the grid on the fold so that you can see it better. 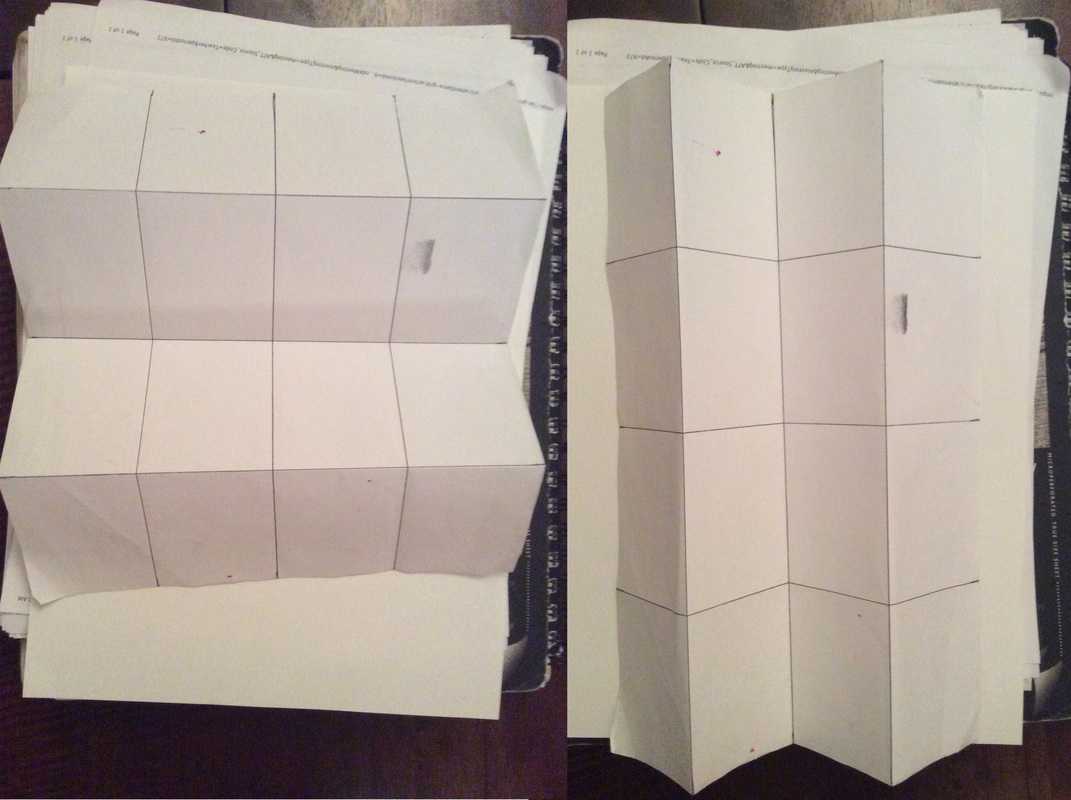
|
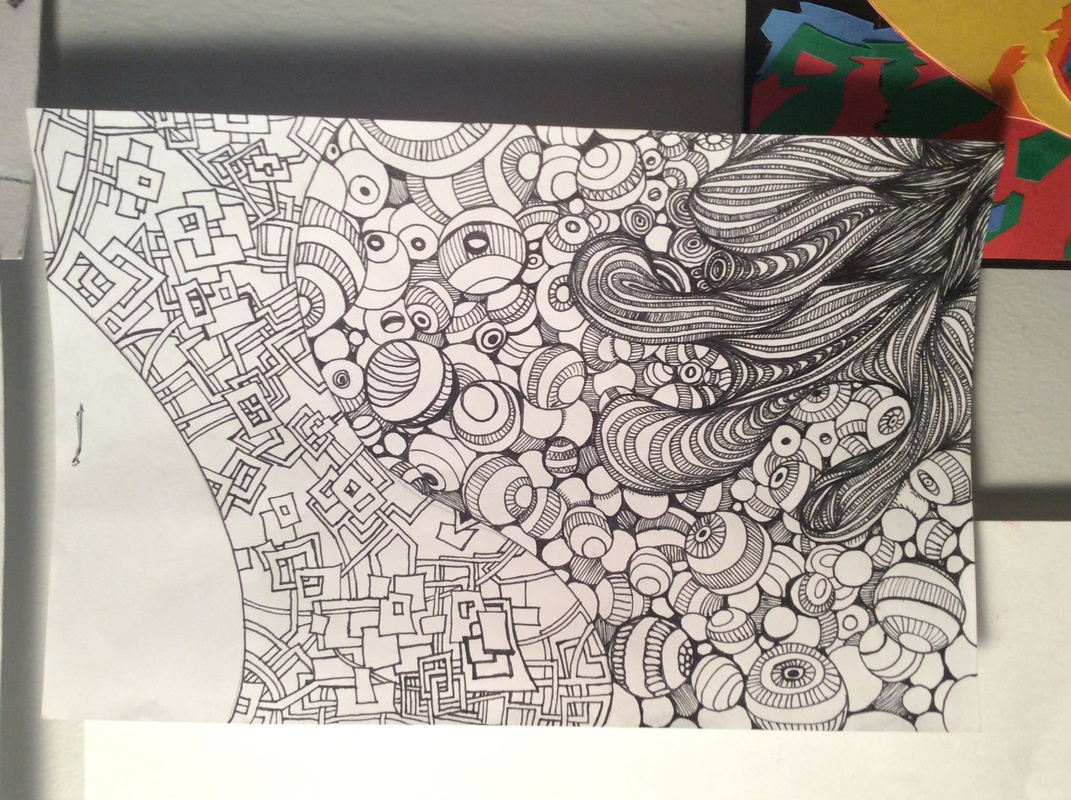
Once all the lines are transferred onto the final pieces of paper, it is time to pull out or create a legend for your final value/patterns. Refer to Zentangles or back to what you learned on the OP-ART Project about value and lines to create 5 patterns that give the illusion of various values (See image Below).
|
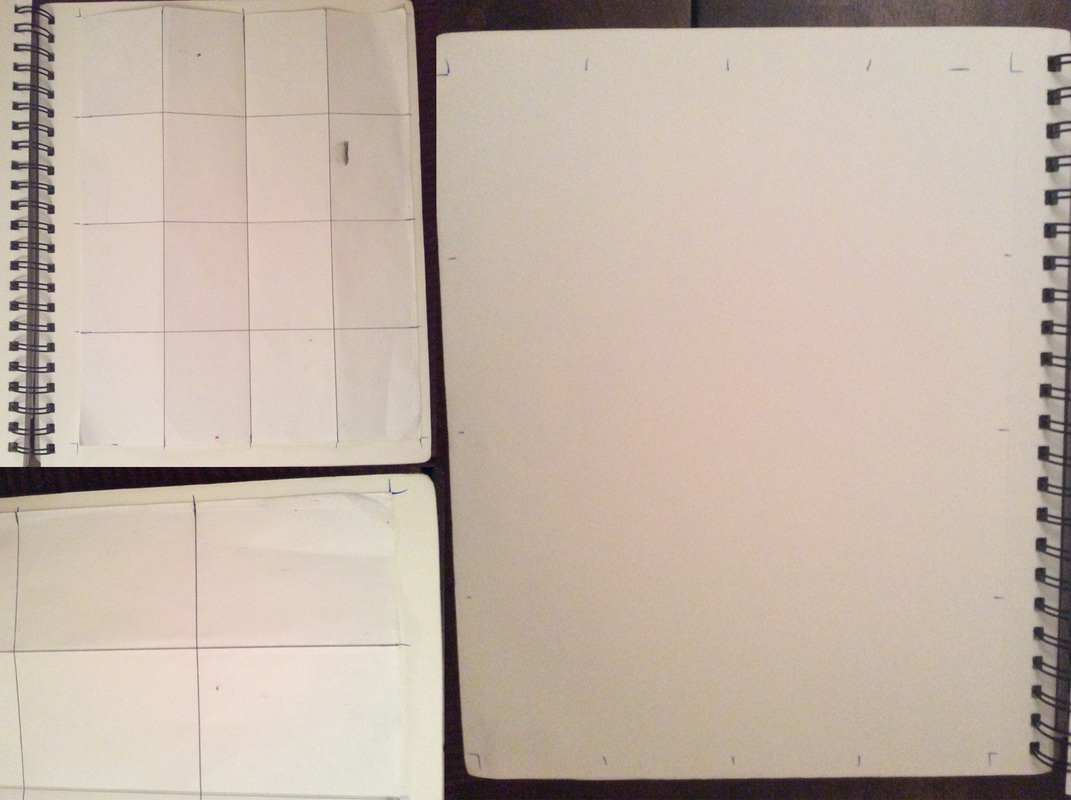
This copy paper becomes your template for the enlarge grid. Set it on top of a 9 x 12 inch piece of 65 lb. paper or higher (most sketchbooks are 65 lbs. or higher) and using a PENCIL, SOFTLY mark the corners and folds as seen in the image to the left.
Using a PENCIL and straight edge, Softy draw your grid and exterior edges of the final enlargement. Still using a PENCIL, SOFTLY draw the lines from each corresponding grid section to the final Paper. 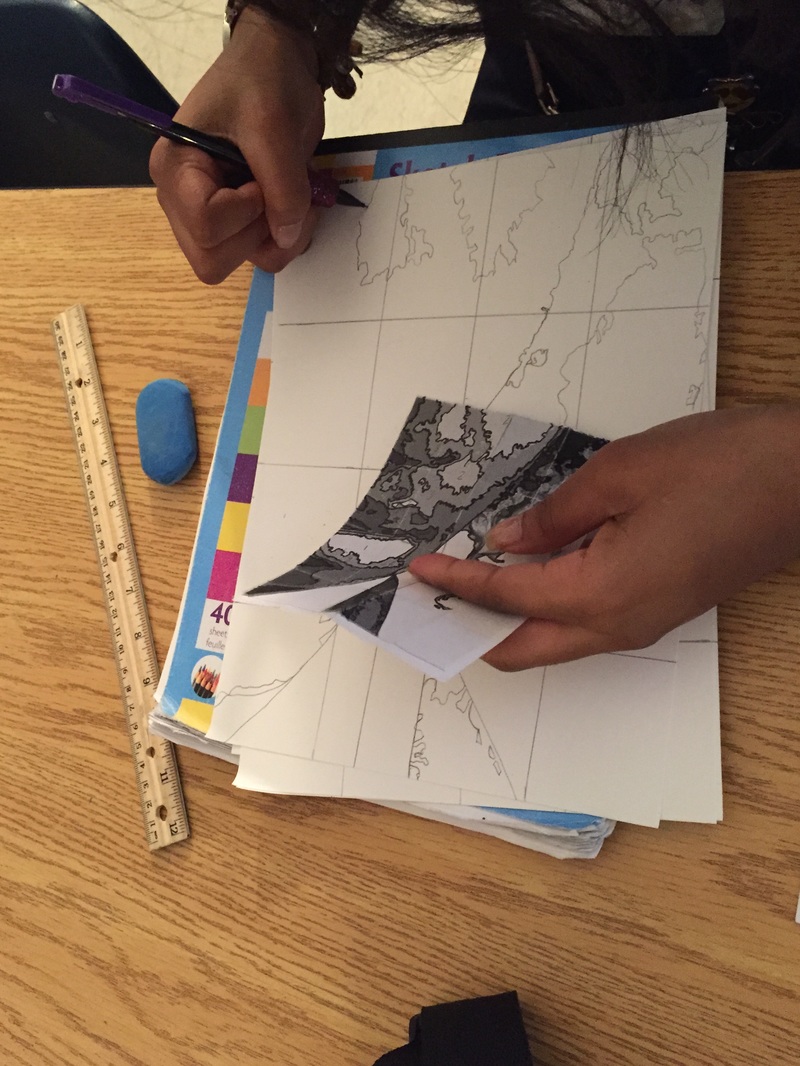
|
|
Using A PEN put pattern from above into section with corresponding value onto final pieces until all areas that need to be filled in, are. Grades are determined by rubric and Semester Final is 50% this project as well as other part in rubric below.
|
| ||
